Autumn Morning in Tsukahara

Autumn Morning in Tsukahara
Autumn morning in Tsukahara

Thursday, June 30, 2016

The Unveiling

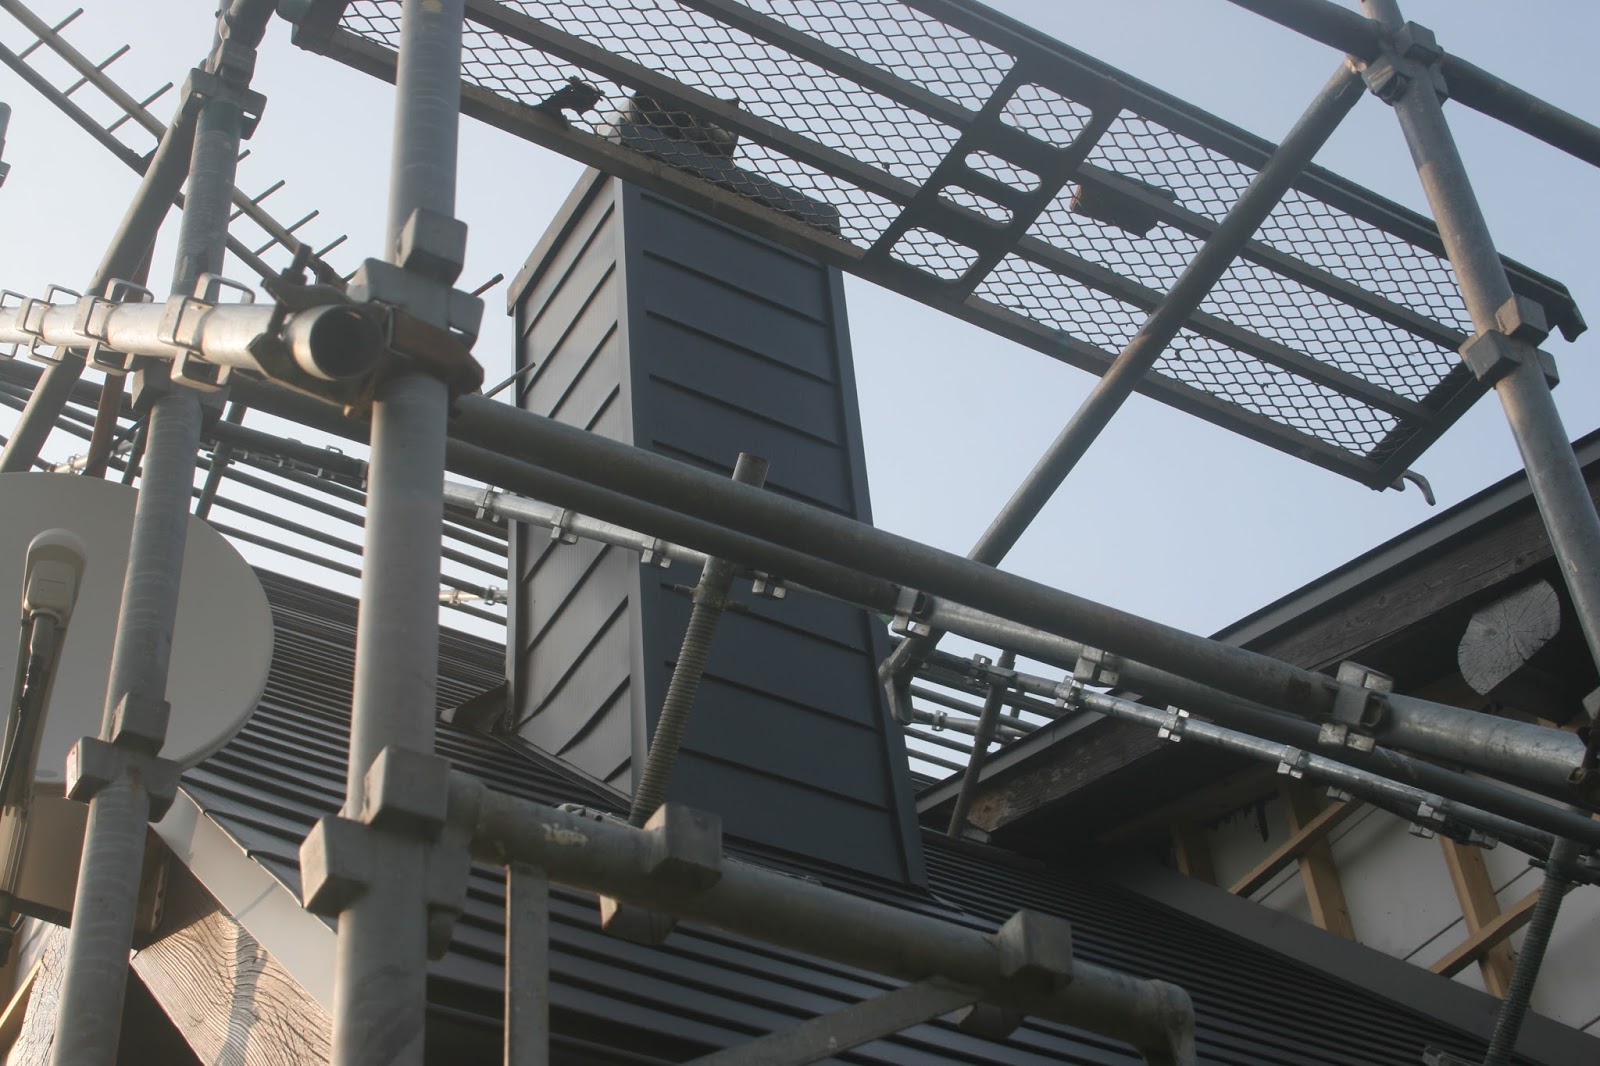
Unveiling? Maybe, or should I say a sneak peek? It’s not completely finished, but it’s almost done. The roofers have been working very hard to complete the job before the end of the month. Erika and I were shocked to see them work in typhoon conditions. Heavy downpours and gale force winds did not stop them from getting the work accomplished. I was very concerned about their safety as the cut edges on the metal panels are razor sharp. The strong winds could easily rip the huge panels from their hands and do some serious damage. Experience prevailed and they moved forward with strong determination. They worked together like a finely tuned machine. It was amazing to see what they could accomplish in such a harsh environment. 


What's next? The scaffolding will be removed sometime this week. The veranda will be installed soon afterward. The concrete steps will be poured and the front door will be installed. The exterior wood siding requires stain and the exterior panels that were installed in Phase 1 will require a matching coat of paint. There are numerous interior items that need to be finished before I can say that "Phase 3 is complete". Please stay tuned...  George


Monday, June 27, 2016

Living room floor


One of my adult English student’s asked, “Why are you tiling over the wood floor?” I answered, “The wood floor was incorrectly installed. The seams between the planks have widened. This allows all kinds of debris to collect in the cracks. No thank you.” 


To fix this "mess" I had to plane the wood flooring flat. A coat of glue was evenly applied before the plywood sheeting was installed. To prevent any "squeaks" in the finished floor, a generous amount of 51mm screws were used. The spacing was kept to under four inches. 


The wood stove posed a problem. It weighs over 500 pounds. These rubber feet sliding things made the job a piece of cake. These were purchased in the states to help move heavy furniture.


The plan was to tile most of the floor, but leave an area to move the stove. The double insulated, stainless steel stove pipe was lifted and supported by a 2x4 post and a cross beam. Yes, it's heavy! Hopefully, we will not have any earthquakes this week.


The stove was moved to an area that was not worked on.


Next, the area where the stove was located will have plywood and tile installed. Then the stove will be moved back and the stovepipe installed. The rest of the floor will then be completed. Well, that's the plan anyway.


The floor tiles in the center of the room are installed. I found that it's easier to do the "full" tiles first and the "cut" tiles later. Any errors can be hidden around the edge tiles. The logs around the edge will require a chiseled groove to allow for the tile to be installed without any gaps. This was also done in the dining area. 


The next step is to remove the "useless" mortar that was supposed to hold the tiles in place. We were told to use this mortar and adhesive by a knowledgeable building contractor/engineer when we first moved here. That was a big mistake!! The mortar barely stuck to the tiles. Each tile cracked after the first year of use. However, the adhesive did stick to the wood flooring. It takes considerable effort and time to remove this material. I'd rather be working on the observatory...well, that's it for now. 


Up next, "The Unveiling". Stay tuned...     George


Monday, June 20, 2016

Preparing for the Galvalume


The roofers made a brief appearance in between jobs. They started installing the trim pieces in preparation for the Galvalume. 


Two windows were added to cool the third floor during the summer. 


The most noticeable improvement is the chimney. They did a fantastic job!! 


I have no idea when the roofers will be back. It's been raining and I doubt they will do any work on the house until the weather clears. 

Up next...the living room floor.     George 


Update: A couple of roofers brought some of the materials during a break in the weather. Lately, we have been experiencing frequent thunderstorms. The forecast for the entire week is unstable weather. The project must be completed by mid July. The scaffolding, trash container, and various vendors are scheduled to leave the property. Unforeseen circumstances such as the earthquakes and severe weather, have made the deadline of mid July almost impossible to achieve. If the weather does clear, the siding will take one week to install. The veranda, cement, wallpaper/ paint, etc. will require additional installation time.


Thursday, June 16, 2016

ScopeDome: Celestron 11 Edge HD


The telescope is a Celestron 11 Edge HD. I won’t bore you with the details, but... I’ll mention that it’s perfect for my current skill level. The Edge optics provide a flat field and is coma free. I can image at a slow f10. With the reducer I can image at f7. The Hyperstar lens will speed things up to f2. It's almost like having three scopes in one which makes the EdgeHD versatile. The mirror can be locked down to minimize mirror flop.


I have a few accessories worth mentioning. The optical train consists of a .7x reducer, Feathertouch focuser/ Microtouch autofocuser, Optec Pyxis LE rotator, QSI 583WSG CCD ( internal 5 position filter wheel), and a Lodestar X2 OAG. I'll be imaging with Astronomik 31mm filters in LRGB, Ha, OIII, and SII. Image processing will be discussed in a later post. 


As far as electronics, I’m using a Gefen USB extender, 2 Digi USB Hubports, and an Edgeport (serial). A couple of RigRunners help keep the 12VDC wiring manageable. It is important that the voltage and signal wire harnesses be separated to prevent any noise. Shielded wires were used whenever possible. Noise is a bad thing when imaging with sensitive equipment. All of the AC wires are kept near the observatory floor and far away from any signal wires. A CPS UX-3 is used to control the AC switching. The mount, camera, and 12VDC power supply are turned on/off remotely using the CPS. Video cameras are used in the ScopeDome to keep an eye on things.

The 12VDC power supply (upper left on the pier) has been relocated to a lower position. As the scope slewed to meridian, I was uncomfortable at how close the CCD camera came to the power supply. 


Power supply wiring is isolated from signal wiring. AC wiring is kept low on the pier.

The bracket I fabricated is a nice platform for the autofocuser, dew heater, USB hub, and one of the RigRunners


The software used to make automation possible include: ACP, CCDAP, MaxIm DL and The SkyX Professional Suite. Other software used to keep things in order include: CCDWare Pempro, CCDInspector, CCD Navigator. A host of other software for focusing, dew control, observatory control, heating, weather monitoring, etc. are incorporated. 


Are we having fun yet? Umm, not quite. I'm still in the wiring and testing stages. This part of the setup will take many months to complete...maybe longer if the weather doesn't cooperate. I'll be ready to balance the rig in the near future so I can finally use the Paramount.

A friend of ours took a look inside the ScopeDome. She said, "Wow! It's a real telescope! I thought it would be a plastic tube thingy. You're really lucky." I replied, "Yes, I'm lucky... to have a wife that will let me do this."         George


Update: The scope is balanced and I have been doing some software tests. I discovered that I often have connection problems. I troubleshot the problem down to the Gefen USB extender. It's not reliable enough for my purposes. I will be replacing the unit with an Icron Ranger 2204. The Gefen was purchased almost 6 years ago. At that time, I was imaging with a Hyperstar and a DSLR. My entire imaging train has been updated and the Gefen is not up to the task. The Icron Ranger will reliably handle all of my equipment for years to come. In the meantime, I have moved the computer into the dome for further extensive software testing. This is going to take some time to get the "bugs" worked out. 

Up next...progress with the exterior of the house


Thursday, June 2, 2016

Renovation Update

Moving right along…most of the carpentry is complete. We are waiting for the roofers to make an appearance so they can install the galvalume siding. They have taken measurements, but their work is backed up because of all of the repairs being done to the earthquake damaged homes.

On a side note: I did not realize how unsightly the logs were until they were covered with vapor barrier and siding. The outside of the house looks new and basically it is. The galvalume siding will make a tremendous improvement on not only the appearance of the home, but also it’s longevity. I can’t wait for the change to occur.


Yeah! The lower logs are gone!! I know the purists of log homes wouldn't agree, but who cares. They don't have to pay an arm and two legs to purchase log preservation materials from the U.S. Guess what, neither do I. 


The new pre-entry is designed to allow a visitor into the house without letting the warm air escape to the outside. We've had problems with the entry being an extremely cold area during the winter months. This will solve that problem. We will also store firewood in this area. Above the pre-entry will be a large balcony made of metal. We used to have a balcony made of wood, but it caused all kinds of rot problems. The new balcony will be stronger, larger, and require little maintenance. 


I really love the new look. With the additional supports added for the galvalume siding, the walls are twelve inches thick! The additional wall thickness should help keep the house at a comfortable temperature year round. 


Well, that's it for now. the ScopeDome is waiting and I have lots of things to do. Unfortunately, I have a living room floor to install first. I'll update the progress on the telescope in the next post. Please stay tuned...